 |
| Burda 02-2018-112 Jacket and technical drawing (images from Burda.ru) |
Although I hadn't thought to make it until later in the year, I already had a piece of fabric earmarked for a short jacket. I had no particular pattern in mind, so I was quite happy to shuffle my plans around and use this pattern.
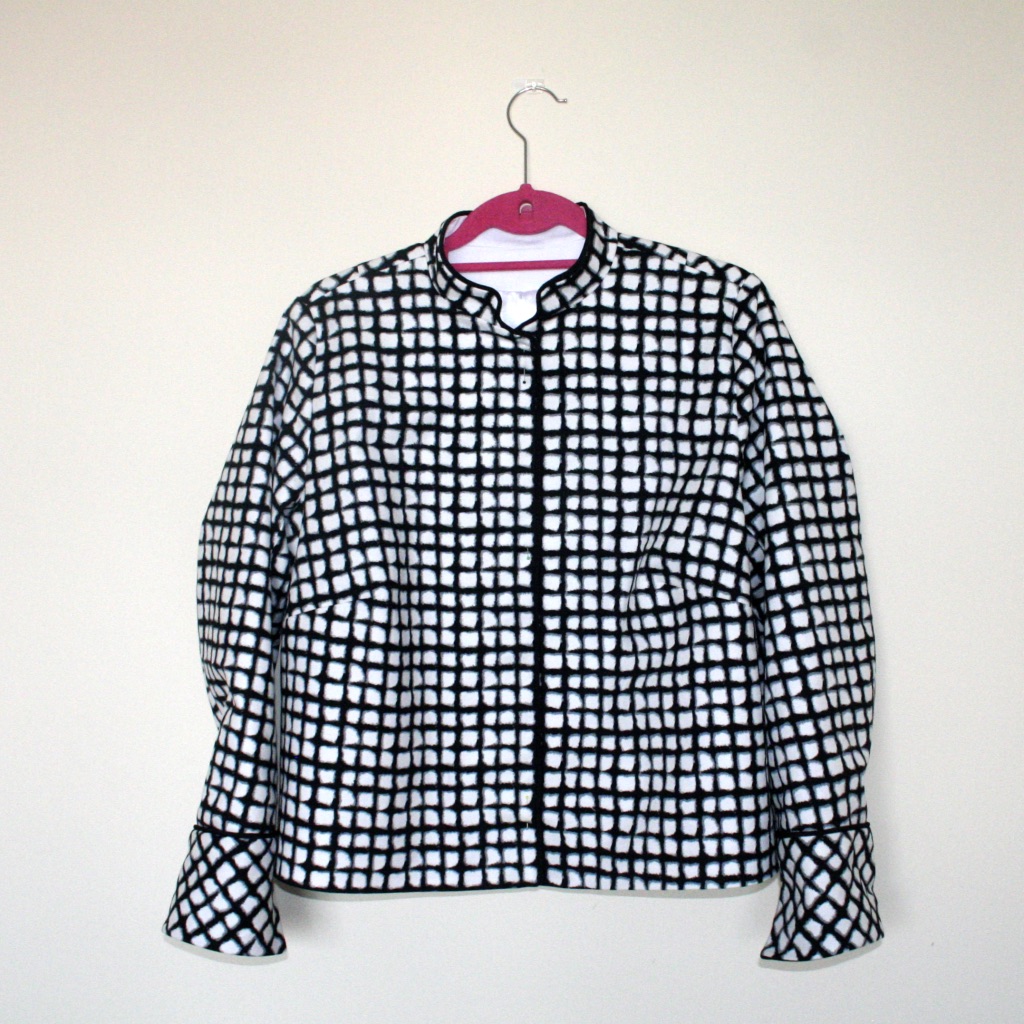 |
| My version of Burda 02-2018-112 in black and white cotton sateen |
I bought this piece of black and white stretch cotton sateen as a remnant and it was (a) very cheap, and (b) not very big -- only just about 1.5m and fairly narrow (about 130cm wide). I just BARELY had enough fabric for this pattern. Actually, let me amend that: I didn't have enough fabric for this jacket. I had enough for the main pieces but not the front and back facings or even the collar facing. Luckily, I had a similar weight fabric in plain white in stash that I could easily substitute in. Since those parts of the jacket aren't really visible, I didn't feel like this was a problem at all.
 |
| Side view on Flossie -- as you can see, I did make some attempt to match across the sleeve/body |
I had just about enough fabric to pattern match to some extent, and some parts of my pattern matching are good: the center front, the side seams below the dart, and the side-to-side view across the upper sleeve, front and back bodice. However, the under sleeve pattern piece was very problematic. I probably needed another 0.5m of fabric, maybe even more, to get any kind of match. With the fabric I had I really couldn't do any better so, eh, whatever, I'll take the ostrich approach: I can't see the rear view of the sleeves, so it's not really a problem. :D
The other fabric/print problem is the hem. So, you might have noticed that the hem doesn't follow the lines on the fabric. I could find literally no way to do that with this fabric/pattern combination. Something was going to be screwy no matter how I cut it out, so I decided to focus on the things that were most important to me, as far as matching the print and pattern were concerned. Of course, I'd LIKE a hem that looked like it finished evenly on a black line all the way round the jacket, but I couldn't have it AND have the centre front/side-to-side match.
 |
| Rear view, with extremely dodgy under sleeve pattern matching |
 |
| Piping detail at the collar/centre front |
The piping is 3mm piping cord covered in a plain black polyester crepe de chine. This is the first time I've made my own piping. I've put pre-made piping in several bags and on one pair of PJs, with varying degrees of success. For this project I decided to buy myself an inexpensive piping presser foot to see if that made it any easier. I'm definitely glad I bought it -- the piping went in so smoothly with it. The presser foot I bought was only £3 off eBay including p&p, so not exactly a major purchase, and worth it just for this jacket even if I were somehow to never use it again.
The only place the piping foot didn't help was in the twisty bit at the centre front. I ended up sewing that whole section of the seam by hand because even with my machine set to sew as slow as possible, I couldn't get the control I needed to sew it together correctly. I don't do a lot of hand-sewing and I'm not the best at it, but I figured that part of the garment isn't going to come under massive strain at any point, so even my less-than-perfect hand sewing should hold together.
I probably least like the turn back cuffs. I used a heavier weight fabric for the contrast inner because it's what I had in stash that was suitable, and eh, it's OK, but they didn't turn out brilliantly and I couldn't get good points on the cuff edges worth a damn. I also don't love how the jacket looks on me when the cuffs are turned back, in part just because I have a horror of 7/8 or cropped sleeves on jackets, and in part because the length is the same as the jacket hem, and it makes me look like a plaid box.
 |
| Naff selfie front view, because my regular front views didn't come out. Please excuse the plant that appears to be growing out of my elbow |
Fit-wise, I am moderately pleased. I started with a size 44 and made what I currently consider to be my "usual" fitting changes (square shoulder, narrow shoulder, raise the armhole, lower the bust dart, make a rounded back adjustment with shoulder darts). I feel like I am still figuring out the right amount of rounded back adjustment. I think this jacket would have benefited from just a little bit more upper back room.
 |
| Side and rear view on me (the rear view with the cuffs turned up) |
Overall, honestly, despite all the flaws in this jacket, I am kind of amazed at how well it turned out. I won't say this was a throwaway project, but I really wasn't prepared for how much I'd like it or how pleased I'd be with some aspects of the sewing. Another win for the magazine challenge approach, since I am pretty sure I'd never have made this without that impetus. :D
Next up: Many shirts. So many shirts.
Wow! I love it and it fits you nicely. I’m impressed with your pattern matching and wouldn’t have noticed the back of the sleeves.
ReplyDeleteThanks! :D I am definitely working on the theory that nobody us going to care about my elbows.
Delete