One of my favourite jersey tops that I own is a little green polka dotty number from Next. I bought it in July in the the end of season sale for £6 and I have worn it loads - often enough that I deeply regret that it only came in mint green, which I bought, and lemon and pale pink, which I did not buy as I do not like those colours. Next still sell the same style top in multiple different fabrics, but there are enough things that I would change about it that I didn't fancy buying more, and definitely not at full price. Sewing to the rescue!
 |
| Original green spotty top from Next |
 |
| My new finished t-shirt |
Starting point pattern
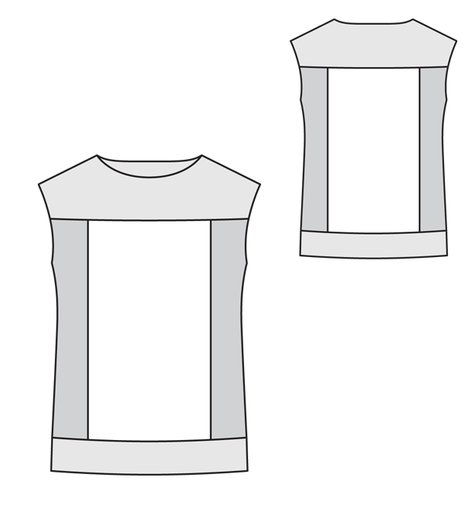
Since this top is fundamentally a really basic design, I was spoiled for choice on how to make it. My choices boiled down really to: 1) Find and use a similar pattern; or 2) Modify an existing pattern to include the yoke.
In case you're interested in making a similar top, here are my conclusions for each of the two options:
 |
| Burda 2012-7-140 |
 1. Similar patterns: I thought about buying & downloading In-House 3008 (PR link, also available on the In House site). That has an insert built into the pattern and is slightly gathered at the shoulder seam, probably because In House use a D-cup block. There's also a somewhat similar plus sized (size 44-52) colour-blocked top in Burda July 2012 (2012-7-140) (I have the relevant magazine, although it's also available to buy as a download on BurdaStyle.com.) I like both of these options, but I didn't really want to buy the InHouse one (It's about US$9) and the Burda version is not quite right.
| 3 Hours Past: Blank Canvas Tee |
 |
| Burda 2012-5-110 |
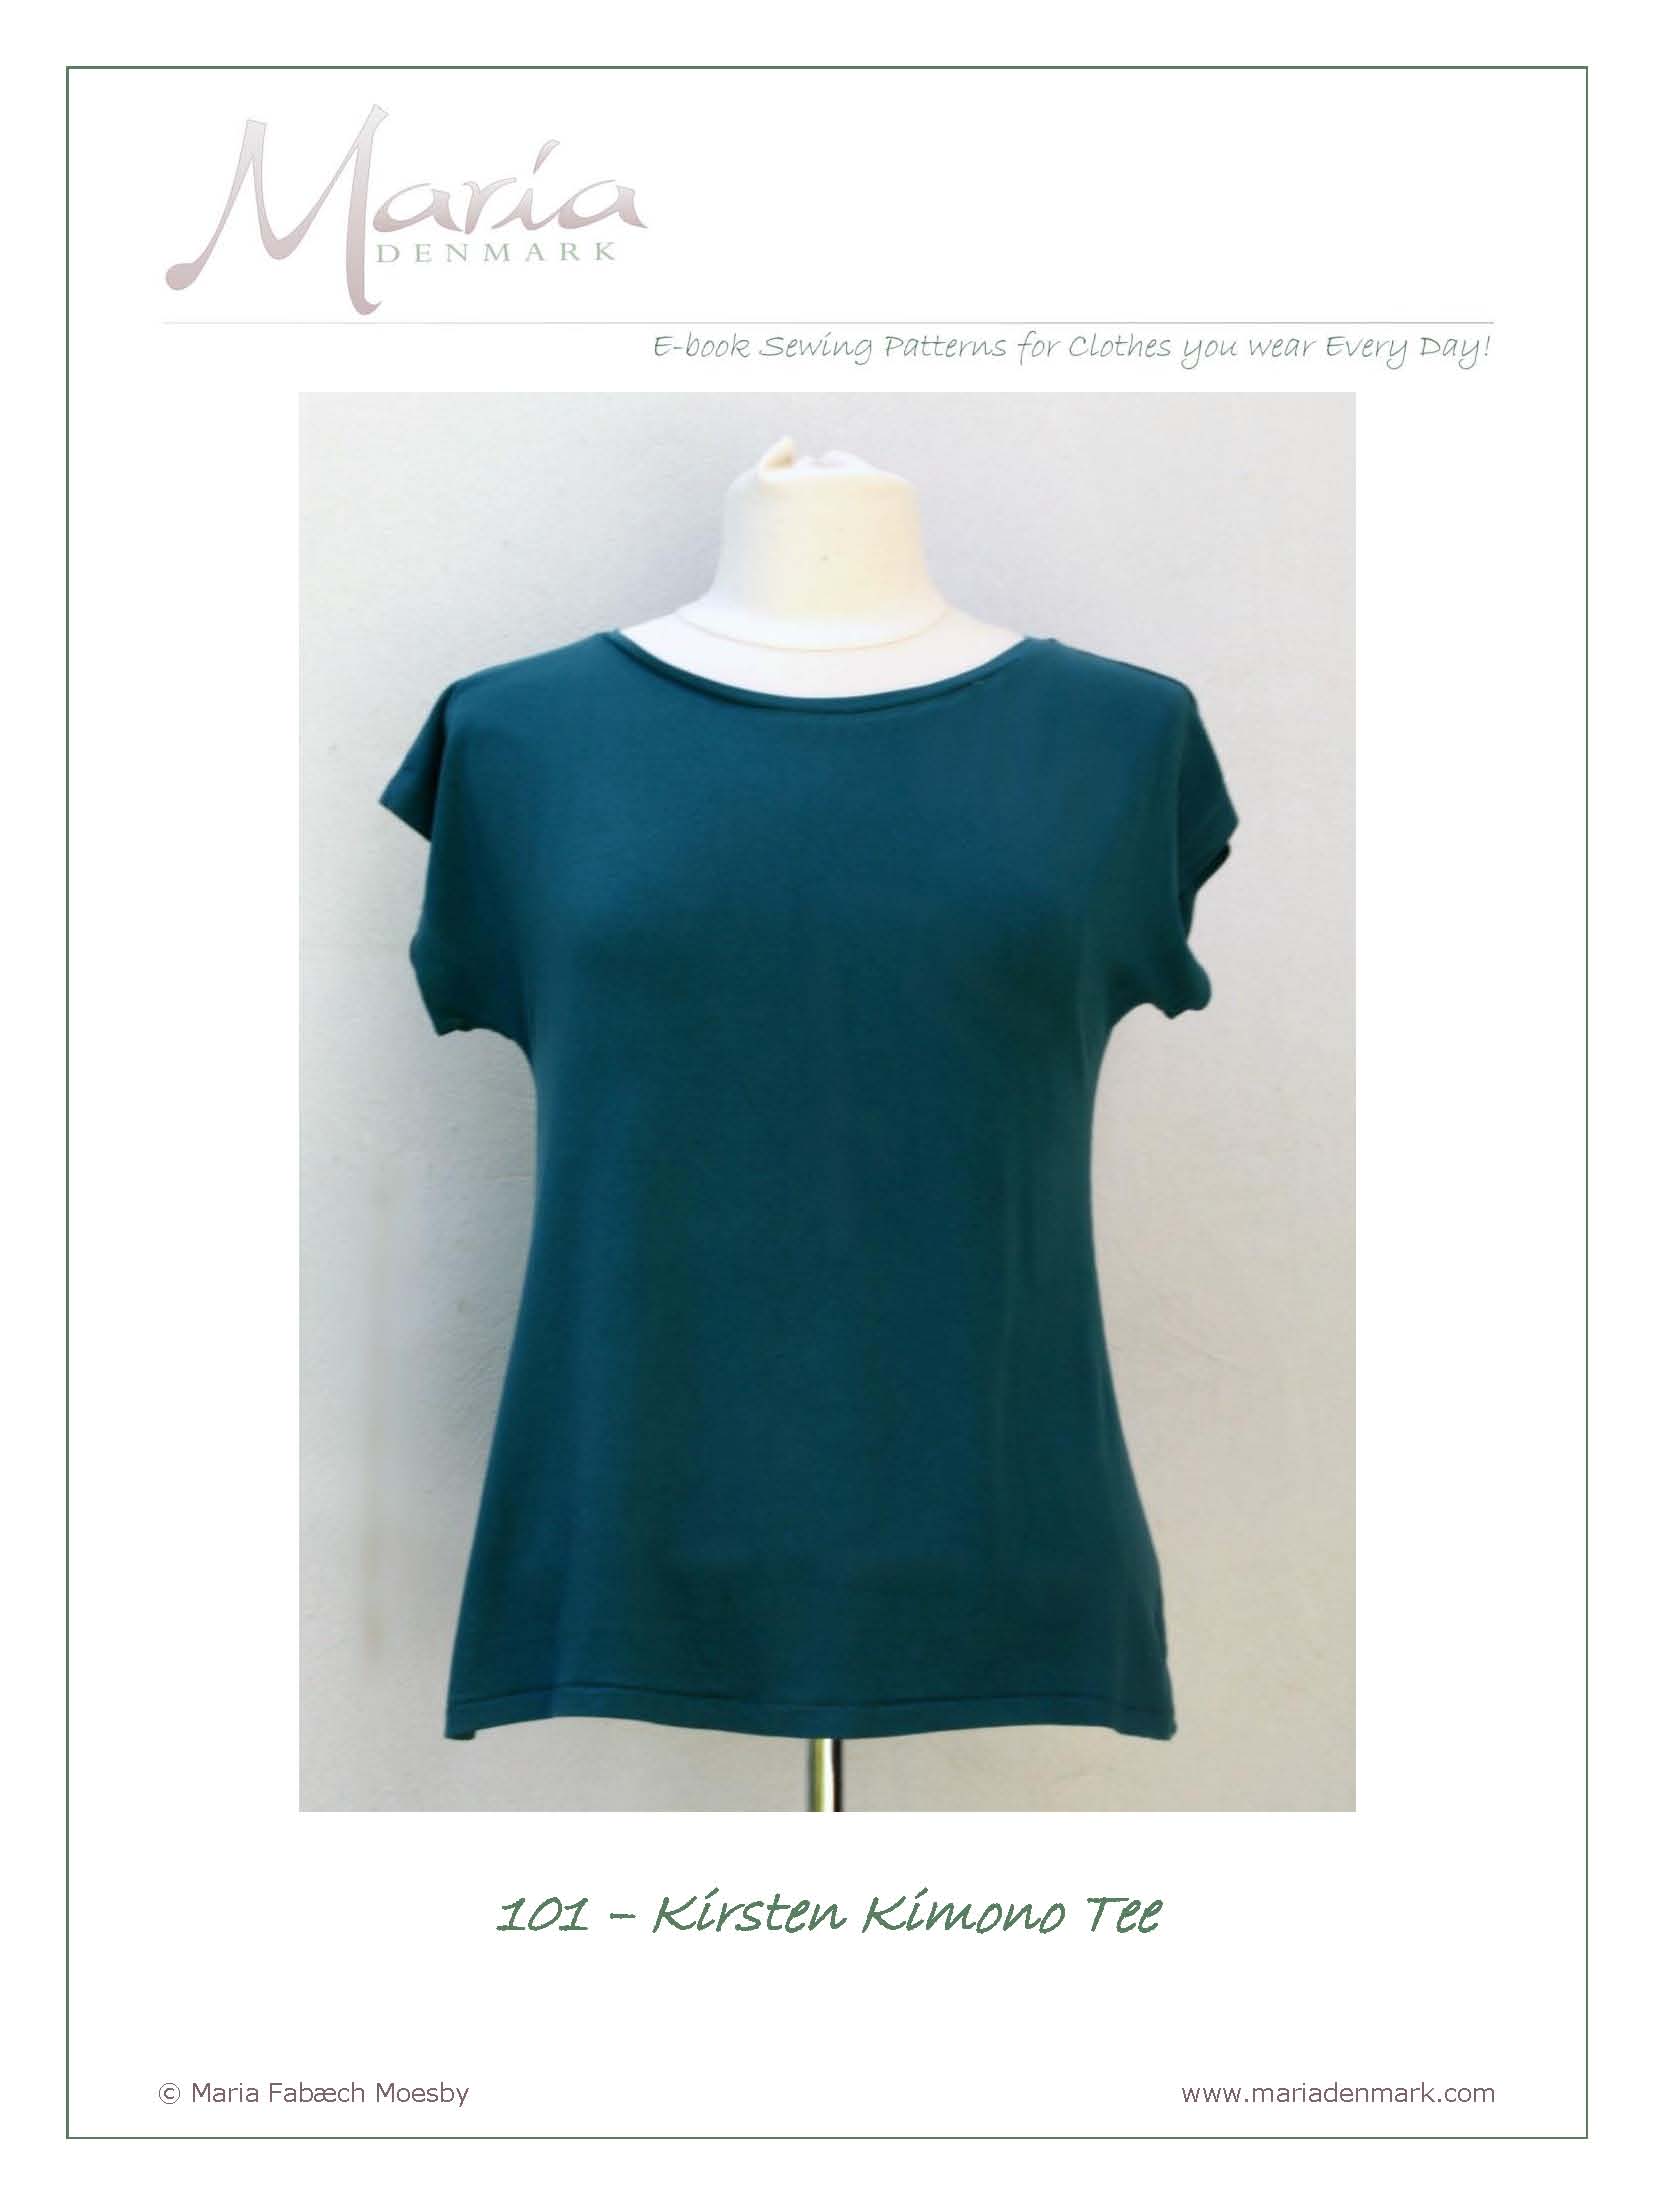 |
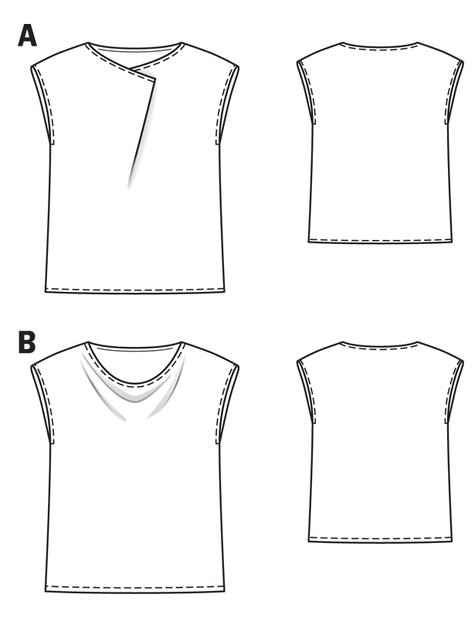
| Kirsten Kimono Tee pattern |
For the first attempt at this, I had a small strangely shaped remnant of white cotton jersey fabric left over from making PJ tops. I didn't have enough to make a straightforward t-shirt using the pattern: it was too misshapen a piece to get the full length of the top out for both front and back. However, I thought there would be just about enough for a top with the extra fabric provided by the contrast yoke. I needed about 30cm of fabric for the yoke and sleeve cuffs. I chose to cut into a piece of turquoise and silver cotton fabric that has been lurking in my stash for months and months. I bought it to make a blouse, but it turned out to be too narrow for the pattern and less drapey than expected. I think it might be quilting cotton, actually.
Making the pattern:
The first task was to fix the pattern pieces. I didn't want to cut my downloaded pattern pieces, so I just folded them and then traced the new piece from my originals.
Once I had the lines figured out, I added 1 cm seam allowances (as I was overlocking the top) and folded the pattern piece to cut out the white jersey body. Because of fabric limitations, on this occasion I only lengthened the body of the top by 3cm compared to the 6cm I added in my original version of the top. I prefer the longer length, but I don't hate the shorter version and it was only done that way because of my fabric issue.
Then I created a new pattern piece for the yoke: I folded out the seam allowances at the shoulder seams and butted the front and back pattern pieces up against each other, then traced the new yoke piece. I also cut out two 40cm long, 7cm wide strips to use for the sleeve cuffs.
Construction:
 |
| Contrast yoke and sleeve cuffs |
My construction order was:
1. Sew the back body to the back of the yoke.
2. Sew the front body to the front of the yoke.
3. Sew side seams.
4. Attach cuffs and tack down.
5. Sew binding.
6. Hem.
However, I should have stay-stitched the jersey portion of the front neckline, armholes and back seam where it connects to the yoke before I did any of that. Almost all of my subsequent construction problems originate from missing out that step.
I used fusible hemming web for the hem for the first time ever and wow, OK, that's my new favourite product EVER. Combined with the twin needle it made a GREAT hem. The stuff I have is maybe 2cm wide, so I cut it in half lengthwise to get a narrow width for the hem. I have like 30m, but no point in wasting it!
Problems with the revised pattern:
1. I didn't quite get the knack of sewing the woven cotton to the jersey, so I had to unpick the very first seam I made a couple of times. I ended up with a couple of little puckers in that seam which is annoying, but I can live with them. Next time, I will make sure to stay-stitch EVERYWHERE that the jersey and the woven are sewn together.
2. Similarly: attaching the cuffs was more difficult than I expected because you go from sewing woven to woven to sewing jersey to woven, and this also caused a little pucker, which is fortunately hidden under the cuff.
3. The binding. I think this is actually a flaw in the original pattern, as the binding is just not stretched enough to work at the original length. I sewed it once and it was TERRIBLE, it stretched out horribly and ended up like an ocean wave all along the front neck line of the top. I ended up cutting out the worst of the stretched out section for a lower and more scooped neck (which fortunately I like better than the original anyway) and re-attaching the binding to the longer neckline. I also forgot to stay stitch though, so I do bear a lot of blame for the error. Next time, I need either a deeper neckline or a shorter binding (or both).
4. Fit. I hadn't realized how much I relied on the stretch in the original purple version across my upper back. In non-stretchy cotton, it's not nearly as comfortable. Also, the cuffs are tight over my upper arms. However, the fit isn't bad for a first attempt and it definitely falls in the "wearable muslin" category as a result.
Costs:
This was always intended as a wearable muslin so I kept the costs as low as possible. The piece I had left over of the white jersey was about £1.75 worth of the total cost. I used 30cm of blue and silver fabric which cost me £3.43/m, so that's about £1 for the piece I used. Including overheads, this top therefore cost around £3.
Nit-pickery:
 |
| Binding and hem |
+ REALLY pleased with the final binding on this one, which was a big problem on the previous version and was still a mess this time. It's not perfect, but just slowing down, pinning it more carefully, and thinking about my stitch length and position more really helped. The finished result is way better than I have any right to expect given the amount of faffing about, unpicking and recutting I had to do at the neckline. The hem is pretty amazingly great too. :D
+ So much fun altering this pattern even a little bit! I see how people get hooked on this.
- I am disappointed by the fit failure, since the whole point of this is Knits That Fit!
Great copy of your RTW top. Now that you have made one and have the pattern, it will be so easy to make other versions. It is a good pattern for using large scraps as you mention. Sewing with the knit fabric against the feed dogs of the machine and the woven on top may prevent stretching when sewing knit to woven.
ReplyDeleteThanks! :D I've put that t-shirt pattern hack away for the next time I have a suitably sized scrap -- I'm certain I'll make more, though I'll have to do something about the armhole fit when I do!
DeleteVery nice indeed. Love the white with the colour yoke and the shape. You have done a great job.
ReplyDeleteThanks! :D
Delete